Why most Automatic Gate System Installation projects fail (and how yours won't)
Your $15,000 Gate That Won't Open
Picture this: You've just invested fifteen grand into a sleek automatic gate system. The installer packed up three days ago. This morning, you pressed the remote and... nothing. Then it worked. Then it didn't. Now you're standing in the driveway, manually pushing open a gate that cost more than your first car.
Sound familiar? You're not alone. Industry data shows that roughly 40% of automated gate installations require a service call within the first six months. That's not a typo—nearly half of all projects hit serious snags before they've barely broken in.
The worst part? Most of these failures were completely preventable.
The Real Culprits Behind Gate Installation Disasters
Here's what actually tanks these projects, and it's rarely what homeowners expect.
The Foundation Fantasy
Most installers eyeball the gate posts and say "looks good enough." Then six months later, your gate is dragging on the ground because nobody calculated the load properly. A double swing gate with ornamental iron can weigh 600-800 pounds. Those decorative brick columns you insisted on? They need footings that go down at least 36 inches with proper rebar reinforcement.
I've seen posts installed just 18 inches deep start leaning within three months. The fix? Jackhammering everything out and starting over. That's another $3,000-$4,000 you didn't budget for.
The Power Problem Nobody Mentions
Your gate operator needs dedicated power. Not an extension cord run from the garage. Not a junction box shared with your landscape lighting. A proper 120V circuit with GFCI protection, buried in conduit at the right depth.
Shortcuts here cause 60% of those early service calls. The gate works fine until it rains, or until you run the sprinklers, or until literally any moisture gets near that sketchy electrical connection.
The "We'll Make It Fit" Approach
Gate operators have weight and width ratings for a reason. Slapping a residential-grade operator on a commercial-weight gate is like putting bicycle brakes on a pickup truck. It might work initially, but you're burning out that motor in months instead of years.
The operator manufacturer says 600-pound maximum? Your ornate custom gate weighs 750? That's not "close enough." That's a guaranteed failure waiting to happen.
Red Flags Before You Sign Anything
Watch for these warning signs during your consultation:
- No site assessment: If they quote you over the phone without visiting your property, run away. Soil conditions, slope, and existing infrastructure matter enormously.
- Vague timelines: "We'll get it done in a few days" usually means they're juggling multiple jobs and yours will drag on for weeks.
- The cheapest bid by far: If one quote comes in at $8,000 and another at $14,000 for the same scope, someone's cutting corners or doesn't know what they're doing.
- No permit discussion: Many jurisdictions require permits for automated gates. If your installer doesn't bring this up, they're either inexperienced or planning to skip this step entirely.
How to Actually Get This Right
Step 1: Demand a proper site evaluation. This should take at least 45 minutes. They should measure everything, check soil conditions, discuss your power situation, and ask about your usage patterns. Will this gate cycle 5 times daily or 50?
Step 2: Get the structural specs in writing. Footing depth, concrete strength (minimum 3,000 PSI), rebar specifications, and curing time before installation. If they can't provide these details, they're winging it.
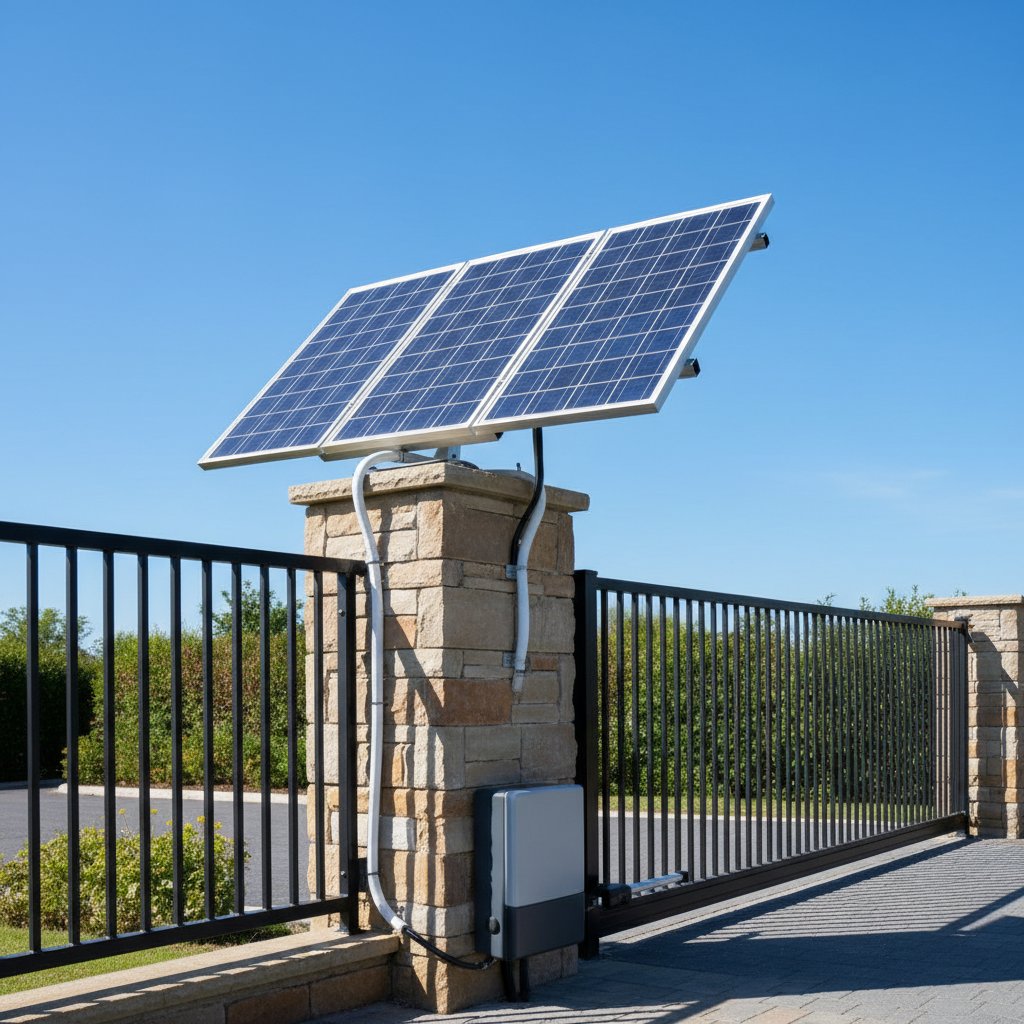
Step 3: Match the operator to your actual needs. Factor in gate weight, width, usage frequency, and climate. A gate in Arizona needs different considerations than one in Minnesota. Solar options work great in Phoenix, not so much in Seattle.
Step 4: Verify the electrical plan. Ask specifically about circuit requirements, conduit burial depth, and GFCI protection. The correct answer involves dedicated circuits and proper conduit, not creative solutions involving extension cords.
Step 5: Understand the testing process. A proper installation includes adjustment periods, safety sensor calibration, and multiple open-close cycles under different conditions. This should happen while you're present, not texted to you later as "all good."
The Maintenance Reality Check
Even perfect installations need care. Schedule professional maintenance every 12 months minimum. Lubrication, sensor checks, and operator adjustments prevent small issues from becoming expensive repairs.
Keep the gate track clean. Sounds obvious, but leaves, dirt, and debris cause more problems than you'd think. A quick sweep once a week beats a service call six months later.
Your gate isn't a toy. Those safety sensors exist for a reason. Never disable them, even temporarily. The liability alone should scare you straight, but beyond that, modern operators rely on sensor feedback for proper operation.
The difference between a gate that becomes a money pit and one that works flawlessly for a decade comes down to doing it right the first time. No shortcuts, no "good enough," no hoping problems won't surface. Just proper planning, quality components, and installation that follows actual engineering principles instead of gut feelings.
Your driveway deserves better than becoming a cautionary tale.